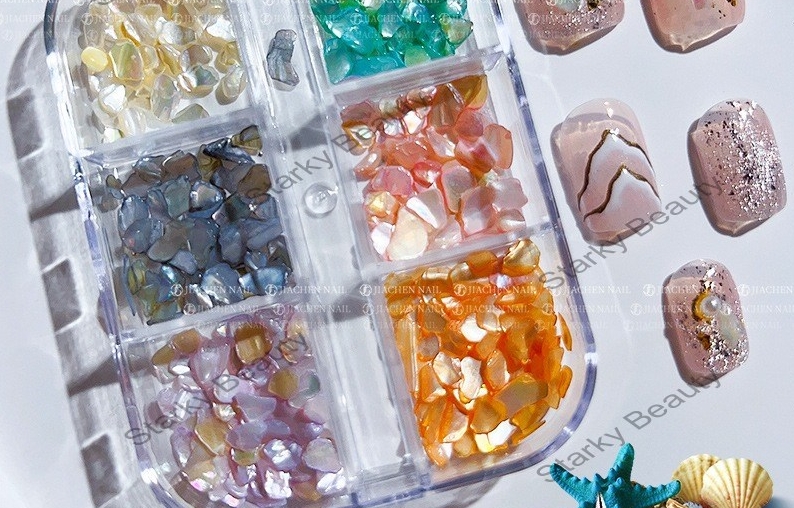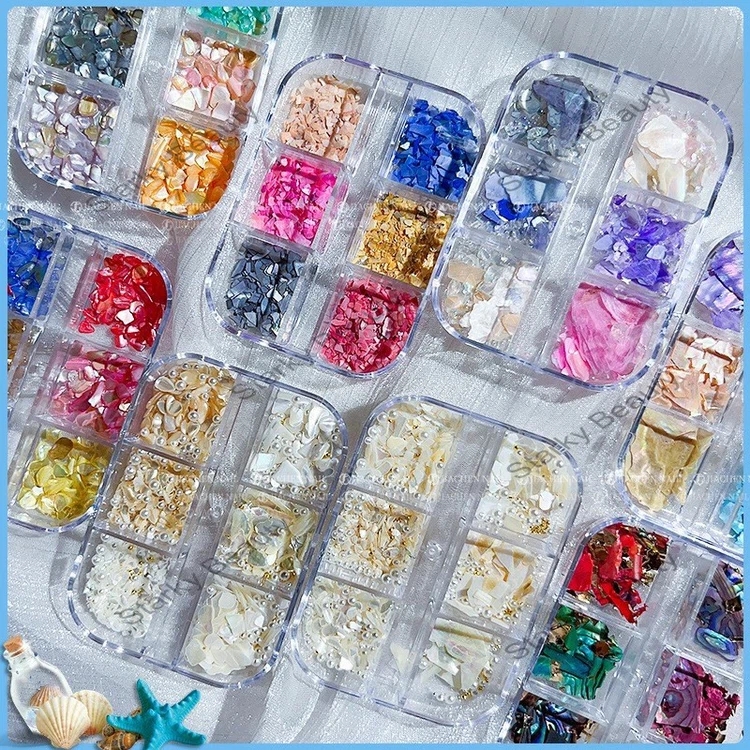
Factory Sale SK-ND76 Colorful Ocean Shell Pieces Natural Shiny Irregular Shell Naill Fragments

How to make seashell manicures
Step 1: Brush the sponge with orange, blue, and yellow nail glue respectively.
Step 2: Use a sponge to create a gradient color block on the middle finger, and illuminate for 60 seconds. Take another shot for the color to be full and light up for 60 seconds.
Step 3: Dip a sponge stick in magic mirror powder and evenly apply it to the nail surface.
Step 4: Dip a line marker in the styling glue to pile up the texture of the shell.
Step 5: Use the same method to stack other shell textures and illuminate for 60 seconds.
Step 6: Brush adhesive on the back edge of the middle finger, attach the jewelry, and light up for 60 seconds.
Step 7: Apply milky white nail glue to the entire nail of the index finger, then brush it again after lighting up for 60 seconds. Dip a line marker in golden glitter nail glue to draw the edges, and illuminate for 60 seconds. Brush drill glue in the middle of the nail surface, attach diamond decorations, shells, and circular rivet decorations, and illuminate for 60 seconds.
Step 8: Brush orange and yellow nail glue on the ring finger and little finger respectively, and light up for 60 seconds. Brush again for a fuller color and solidify the headlight. Apply diamond glue to the back edge of the nail, and then apply the illusion diamond and star jewelry separately. Illuminate for 60 seconds.
Step 9: After all nails are thoroughly dry, finally apply a sealing layer and light up for 60 seconds.
How to make pink and tender shell slices for nail enhancement
Step 1: Prepare the necessary nail polish and tools, trim and polish the nail surface, apply primer, and dry thoroughly. Apply a layer of milky white nail polish on the middle finger and ring finger, and apply transparent nail polish on other fingers. Take a small square sponge and stick pink nail polish on one corner of the sponge.
Step 2: Print the pink nail polish on the sponge in the middle of the middle finger.
Step 3: Sprinkle light pink, rose red and gold shell pieces on the area printed with pink nail polish.
Step 4: Sprinkle light pink, rose red, and golden shell slices in the middle area of the thumb.
Step 5: paint a "V" shaped French nail with pink nails on the index finger and small thumb, then stick a transparent rhinestone on the tip of the "V" shape and a small gold rivet on both sides of the rhinestone.
Step 6: Finally, apply a layer of top oil and it will dry thoroughly.
How to do striped shell nail enhancement
Step 1: Prepare the necessary nail polish and tools, apply primer, and let it dry. Apply white nail polish to the entire nail, and let it dry.
Step 2: Dip the blue nail polish with a line marker, draw the shape of the shell, and let it dry.
Step 3: Complete the other shells according to the previous step and let them dry.
Step 4: Dip the blue nail polish with a drill pen, point out dots of different sizes, and let it dry.
Step 5: Use a line marker to mark blue stripes on the other two nail surfaces and let them dry.
Step 6: Use a line marker to dip in golden glitter nail polish, mark the golden stripes, and edge the nail bread. Let it dry.
Step 7: Brush a layer of jewelry glue, then apply it to the jewelry and let it dry.
Step 8: After completing all the nails, wait for them to dry, and finally complete the polish step. The blue and white colors are really eye-catching!