Flash Powder Nail Enhancement Tutorial
The first step is to make glitter jewelry and brush it with a silver gray rectangular shape on cheese paper. In order to make the color full, we need to brush it twice, and then light and solidify it separately.
The second step is to apply light cured nail glue on cheese paper, which can be easily removed. Then, we use scissors to cut out a flat rectangle.
Step 3: Fix the basic A-type and apply adhesive to cure the lamp. Today we choose brown nail glue as the base. To make the color full, we usually brush it twice and light it separately to solidify.
Step 4: Now let's start pasting the previously made glitter jewelry. First, brush a layer of transparent nail glue in the middle of the nail surface, then stick the jewelry on, and then solidify it with the light.
Step 5: First, use scissors to tidy the edges of the glitter jewelry, then start applying rectangular rivets. Brush transparent nail glue on the area where the rivets are to be applied, and then stick the rivets to cure the headlight.
Step 6: Brush the sealing layer. After the headlight has solidified, use a rubbing strip to repair the edges smoothly and neatly. This is the completion of our special glitter jewelry style~~
Materials used: silver gray nail glue, brown nail glue, transparent nail glue, rectangular rivets, and wash free sealing layer.
Flash Pink Gradual Nail Enhancement Tutorial
The first step is to apply the primer and solidify the headlight. Mix silver glitter nail glue with silver laser glitter nail glue. Use a flat headed brush to brush the adjusted nail glue on the front edge of the nail surface, and use a small brush to make a gradient on the edge of the color block. Cure the light. Brush again for a fuller color and solidify the headlight.
Step 2: Apply a layer of sealing layer to level the nail surface and solidify the headlight. Remember to use a cleaning cotton dipped in cleaning solution to wipe off the floating glue on the nail surface. Use a small brush dipped in white paint adhesive to draw the shape of the leaves. Pay attention to more changes in the shape to make it more vivid. Light curing.
Step 3: Dip a small brush in dark green paint adhesive and light green paint adhesive to draw the color of the leaves, and solidify them under the light. Mix white paint adhesive with light green paint adhesive, then use a line marker to dip the mixed nail adhesive to draw the leaf vein texture, and solidify it under light.
Step 4: Dip a small brush in white paint adhesive to draw the background color of the flower, and then solidify it with the light. Mix yellow and white paint glue to form a light yellow paint glue, and mix yellow and pink paint glue to form an orange color paint glue; Dip in pink colored paint glue, light yellow colored paint glue, and orange colored paint glue to enrich the color of flowers and solidify the lighting.
Step 5: Use a line marker dipped in white paint to draw the outline lines of the flowers, and solidify the lighting. Apply a sealing layer in the appropriate position, stick a heart shaped, circular illusion blue light sequin, and solidify the lamp.
Step 6: Finally, brush and scrub the sealing layer to solidify the headlight. This style is complete~~
The nail glue and other materials used in this style: base glue, silver glitter nail glue, silver laser glitter nail glue, white paint glue, green paint glue, light green paint glue, line marker, yellow paint glue, pink paint glue, scrub seal layer, love illusion blue light sequins, circular illusion blue glossy film
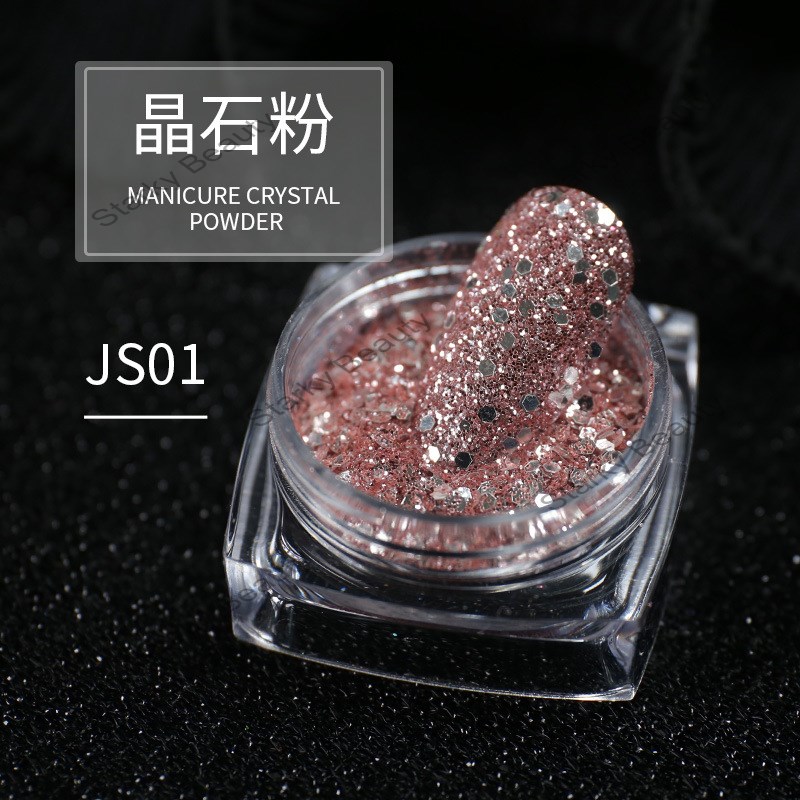
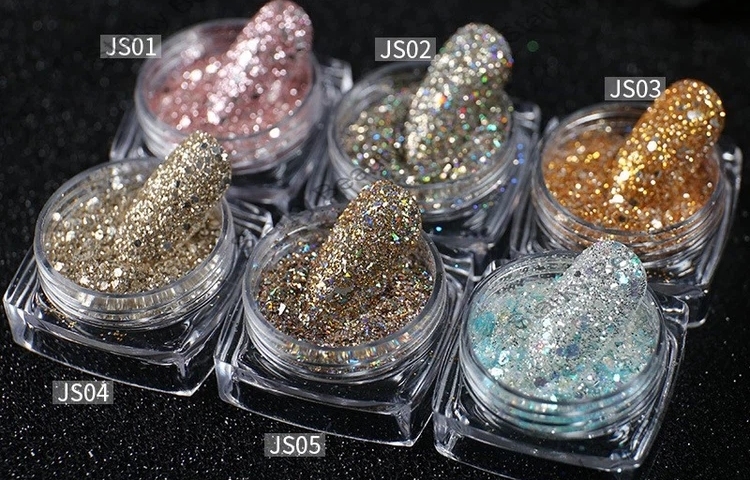
SK-GP24, sparkle mineral color nail nail powder, diamond powder