Drawing and dyeing nail enhancement steps
Step 1: Prepare the necessary nail glue and tools, trim the nails and polish the nail surface, apply the primer, and light up for 60 seconds.
Step 2: Brush pumpkin colored nail polish on the thumb, middle finger and Ring finger, and light the lamp for 60 seconds.
Step 3: Brush pumpkin nail polish on the middle finger again without lighting up. Dip a line marker in white nail polish and draw a leaf pattern on the middle finger, then illuminate for 60 seconds.
Step 4: Brush pumpkin and greyish green nail polish on the index finger and pinkie thumb, then use a line marker to dip in the base glue and stain it with amber, as shown in the effect. Turn on the light for 60 seconds.
Step 5: Use a line marker to dip in white nail polish and draw stone patterns on the index finger and little finger. Then, use a line marker to dip in the base glue to stain the texture, and light up for 60 seconds.
Step 6: Brush the seal layer on the middle finger and Ring finger, stick the gold foil paper box gold round sequins on the appropriate position, and light for 60 seconds.
Step 7: Finally, apply a layer of sealing to the nail surface, and illuminate it for 60 seconds.
How to do flower nail enhancement
Step 1: Prepare the necessary nail glue and tools, trim the nails and polish the nail surface, apply the primer, and light up for 60 seconds. Apply pink nail polish glue to the middle of the nail plate, and use a small pen to diagonally pull out the yellow nail polish glue to the left and right, without using a headlight.
Step 2: Apply rose red nail polish adhesive below the pink line and pull out the line.
Step 3: Use the same technique to draw purple and white lines.
Step 4: After cleaning the small pen with cleaning solution, dip the pen in a small amount of sealing layer and pull it downwards from above the pink line to form a line.
Step 5: Be sure to hit the mark with one stroke and not pull it up and down.
Step 6: Wipe the pen clean on kitchen paper, dip it in the sealing layer, and pull out the lines on both sides in sequence.
Step 7: Pay attention to cleaning the pen after each stroke before proceeding to the next step.
Step 8: After pulling out all the lines, turn on the light. Stick decorative decorations on the nail surface, and finally apply a layer of sealing to the nail surface. Just light up for 60 seconds.
Steps for Water Dyed Flower Nail Enhancement
Step 1: First, apply white nail polish on the nail, and then apply Vaseline around the nail to facilitate the removal of the excess nail polish later.
Step 2: Prepare a cup of cold water and drop nail polish with gradual effect on the water surface in turn.
Step 3: Then use a toothpick to wave inward from the outer edge of the water cup, breaking the original circular arc. Generally, just draw a few strokes.
Step 4: Then you can have manicures. This side of the nail cover is pressed directly on the water surface of the water cup. When the nail polish on the water surface dries into a film, you can take out your fingers. When you take out your nails, use a wooden stick to peel off the nail polish near your fingers, so as to prevent the nearby nail polish from adhering to your nails and damaging them when they come out.
Step 5: Use a Cotton swab to clean up the excess nail polish around the nails. Because of the protection of Vaseline, it is easy to clean without worry.
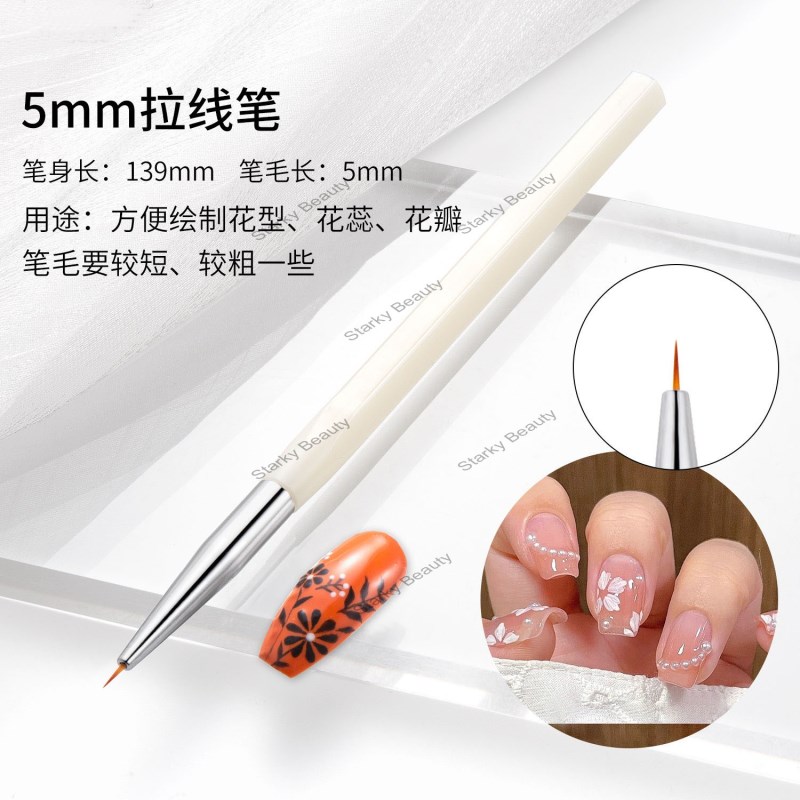
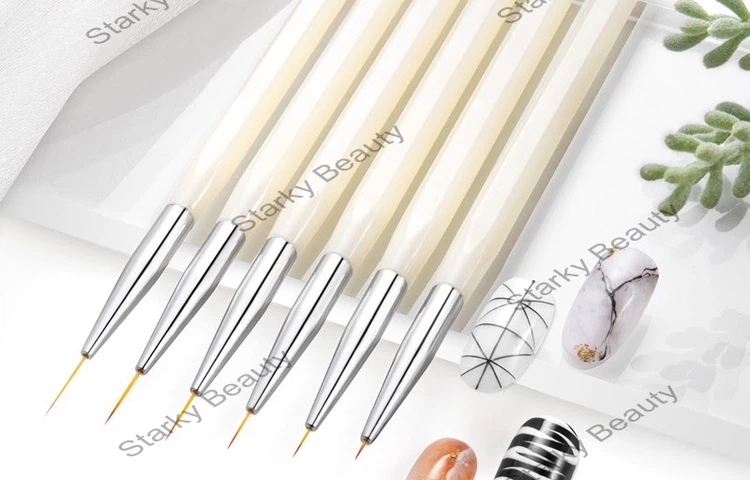
SK-MJB13, Factory Wholesale New Nail brush line pen, soft fur phototherapy pen, color painting pen, line drawing