Knitted Nail Enhancement Painting
Step 1: After we have prepared the tomb foundation tools and materials, we will start doing basic nail repair. Apply a layer of primer to the nail after applying powder. After it dries, apply a thin layer of corresponding nail polish glue to the nail. After applying it separately, we apply a layer of seal to the nail.
Step 2: We will prepare a three-dimensional adhesive and use a fine brush to draw with the tip of the pen from the nail surface. When drawing, only the tip of the pen should be used, and it cannot be pressed down. Otherwise, it will not be three-dimensional. Draw a thin line, and then take a photo. Each line should be dried once, otherwise it will collapse.
Step 3: After drawing the lines, place four spherical wave points in the middle of the two lines. It is best for everyone to take a photo of the wave points as soon as they are drawn. If the dots are not dried in time when drawing, the sphere will collapse to the side.
Step 4: After clicking the dots, we will create alternating S-lines on the blank part of the nail. Once done, we will light dry and finish.
Step 5: After all the patterns are completed, we need to apply a sealing layer. There are also requirements for applying the sealing layer. We cannot simply brush it with a brush, but instead use a fine brush to apply the sealing layer to the protruding part. If we use a brush to apply the sealing layer directly, the three-dimensional effect will not be as strong.
Step 6: Using the same method, we can draw different sweater textures.
Simple Knitting Nail Enhancement Painting
Step 1: Drop the purple carving glue onto the steel plate or a clean surface, and then pour an appropriate amount of white crystal powder onto it.
Step 2: Mix the carving glue and crystal powder evenly and spread them to a thickness of 1-2mm. Then, divide the mixed carving glue into strips and pile them into a circular ball, which serves as the furry ball at the top of the hat.
Step 3: Apply a layer of flesh pink nail polish on the nail plate.
Step 4: Then use white nails to paint the basic shape of the hat in the middle of the nail plate, and use a stylus to dip gray nail polish to outline the edge of the hat, and then use white carving glue to paint the pattern of the hat as shown in the figure.
Step 5: Glue the purple "plush ball" to the top of the hat with nail polish glue.
Step 6: Apply a layer of white nail polish on the nail plate.
Step 7: Draw a glove shape in the middle of the nail piece with lotus colored nail polish.
Step 8: Next, use lotus root colored carving glue to outline a three-dimensional pattern on the gloves.
Step 9: Draw the styles of other nail plates, and finally apply a frosted seal layer on the surface of all nail plates. The frosted seal layer makes the texture of the nail enhancement closer to the texture of the sweater.
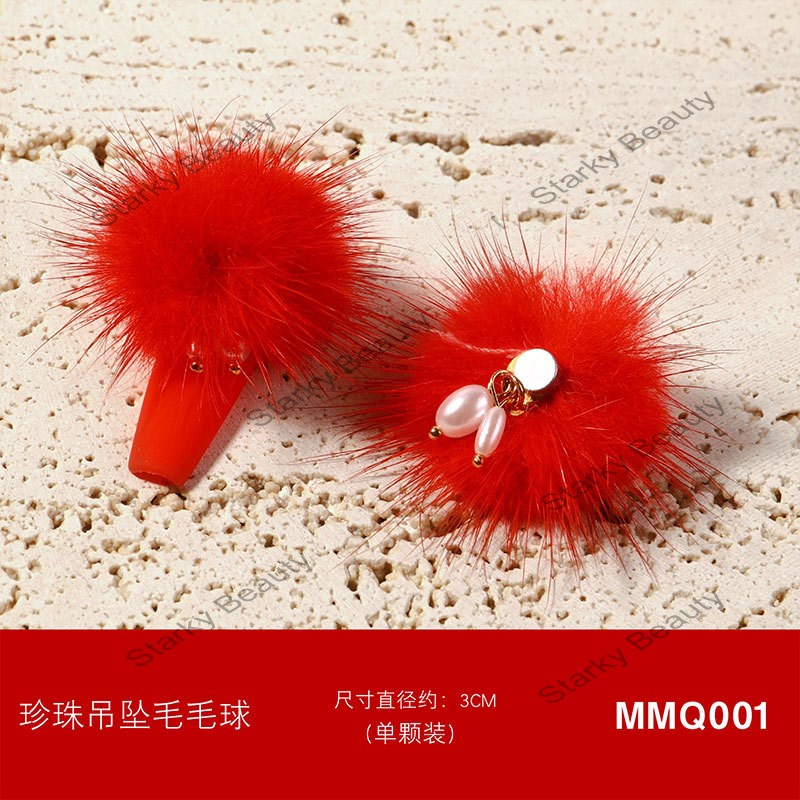
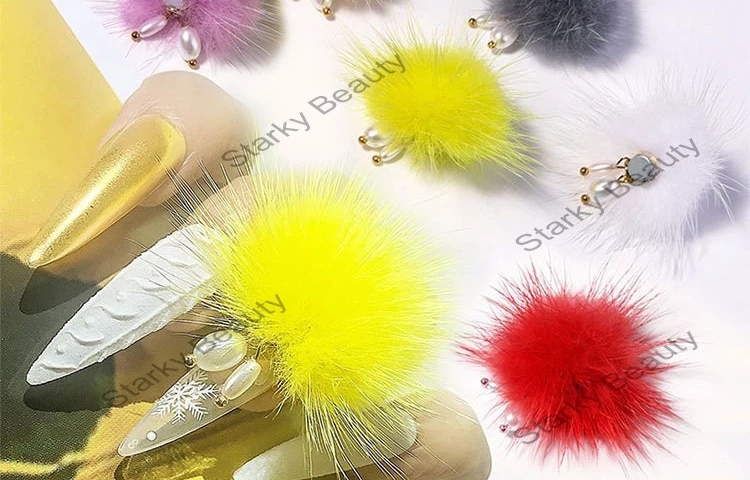
SK-ND150, Best Design Nail Art Mink Hair Ball Magnet Nail Art Accessories Wholesale