Nail art steps
Step1: Maintain nails
Remove old nail polish. Dip a cotton pad in nail polish remover and remove all nail polish until it is completely removed. You need to remove all the corners and gaps, as any remaining marks will affect the beauty of French nail art
Step2: Trim your nails into the shape you like
The long nail method nail art will look better, so don't trim your nails too short. Use nail clippers to cut off uneven areas to ensure even and consistent nail length.
Step3: Trimming and polishing
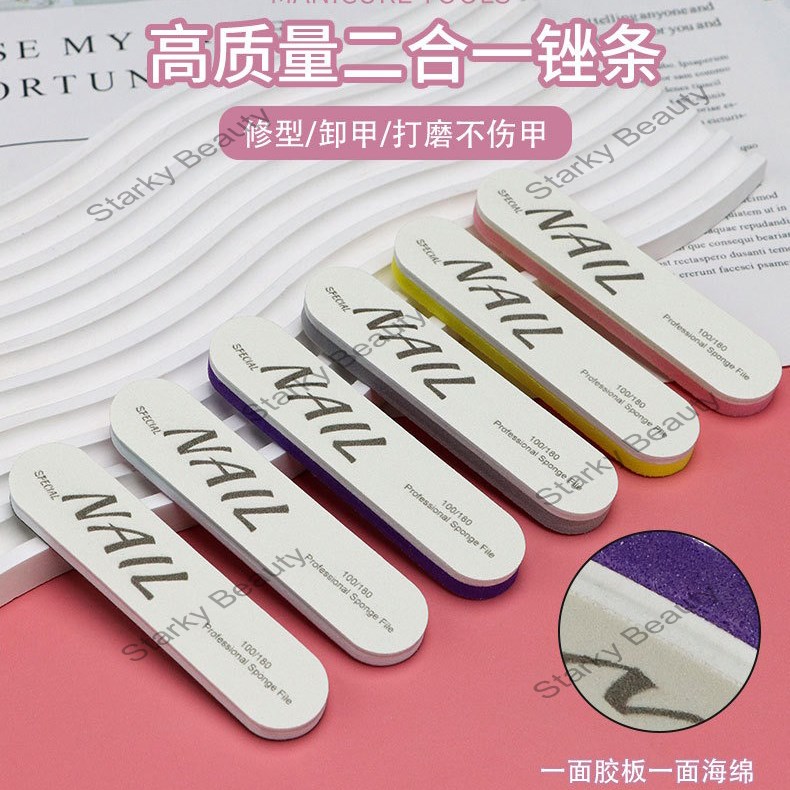
Use a nail file to trim the edges of your nails. You can trim your nails into circles or squares according to your preferences, and then use a polishing file to polish your nails.
Step4: Soak nails
Soak your hands in a mixture of hot water and whole milk or olive oil. This will help soften the cuticle layer of the nail edge and facilitate trimming. After soaking for about 3 minutes, wipe dry with a towel.
Step5: Apply base oil
The base oil for French nail art is usually light pink, cream, or transparent. At the beginning, the first stroke should be applied from the middle, and then applied on both sides. Start from the bottom of the nails and apply upwards. Slowly coat the entire nail. Each nail on both hands should be coated with primer.
Step6: Apply white on fingertips
When applying white nail polish to fingertips, do not shake your hands and be steady. When applying, one stroke should be carried over without interruption. Wait until your fingertips are completely dry before applying another layer.
Step7: Apply transparent gloss oil
Finally, apply a layer of transparent gloss oil to protect the just applied French manicure. Bright oil can also help French nail art last longer.
Step8: French nail art completed
The high-end French nail art is done like this
SK-ST39, hot sale useful 2-in-1 nail art special rubbing strip, nail shaping polishing strip


